G.E. Clothes Iron Disassembly Pictorial
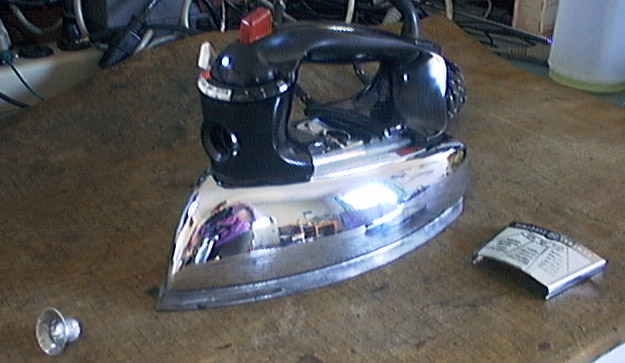
In late 2004, i disassembled, cleaned, repaired, and reassembled a General Electric Cat. 21F80 steam clothes iron, made sometime in the mid-20th. century. I photographed various steps along the way, with the intent of typing out a web page (not unlike this one) with information on the process. Unfortunately, the typing didn’t happen in a timely fashion, and all these years later i don’t remember much. Still, i thought the photos might be of some use to someone, or at least of casual interest. I’ve typed out bits of text where the photos have jogged my memory… expect inaccuracies and plenty of missing details.
Note that the photos were taken with a very early digital camera: a 1997 Apple QuickTake 200, with a maximum resolution of 0.3 megapixels and fixed focus. As presented here, they’re as good as they get.
Disassembly
The first step for disassembly is to pry off the settings plate (under the handle), and pry out the water filler funnel:
This exposes a hex nut, which holds the handle and whole top assembly to the base (blurry picture!):
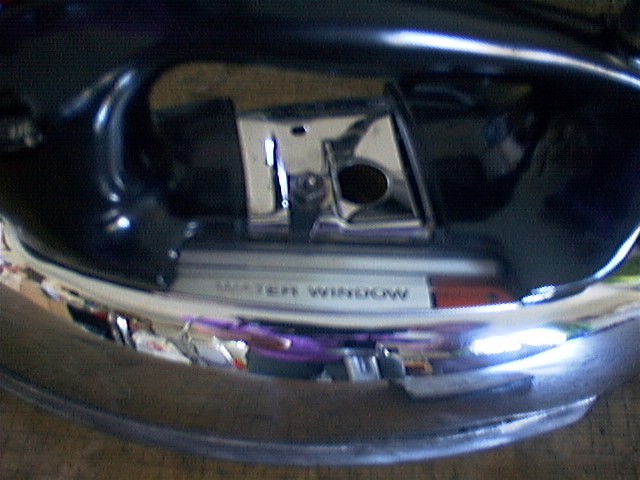
With the funnel and nut (and settings plate) removed, the top assembly will come off as a unit. Lift it up far enough to access the power cord wires, and unscrew the cord from the mechanism via the two slotted screws. Here is what the top assembly looks like, removed, from the inside:
The two power cord screws are visible, standing proudly up off the base unit, at the lower right of the photo above.
Now we see the base, and the tank atop it:
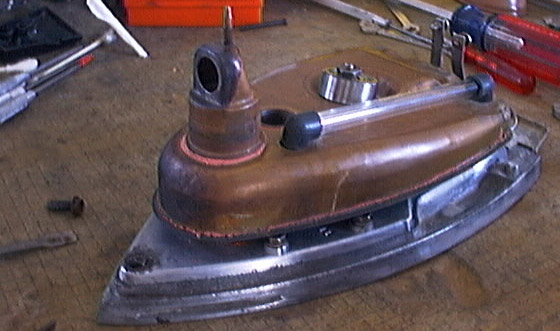
I’ve a vague recollection that the hex nut (the very same hex nut that was holding on the top cover/handle assembly) and the cylinder beneath it fastens the tank to the rest of the base/mechanism. The deep hole in the tank, visible just behind the left end of the water window glass tube in the photo, is where the flat metal thermostat adjusting link passes (discussed below).
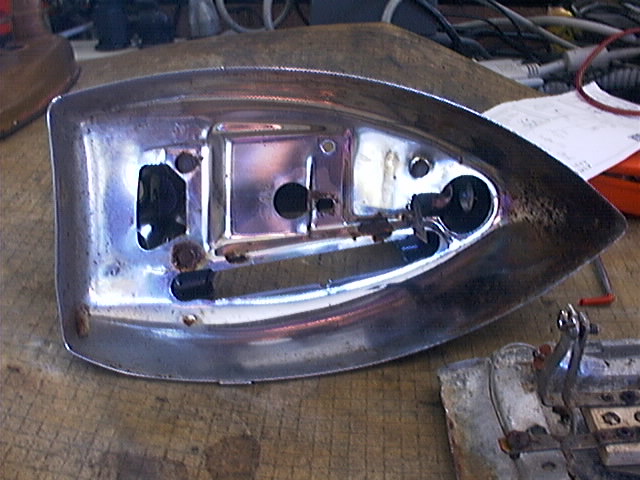
Once the tank is removed (and there may be Gotchas that i’m not recalling), the thermostat and the rest of the mechanism is exposed:
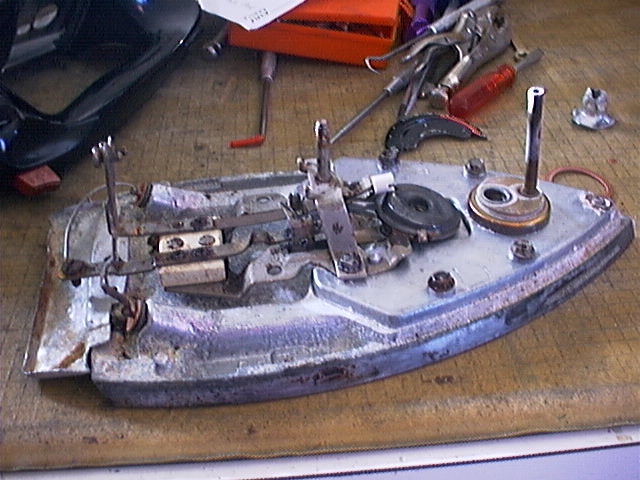
This is as far as i needed to go in disassembling the iron. The grommet that goes between the water tank and the base is visible (it is brownish red) just behind the front tip of the iron base. Also note the black disc and white “rider” atop the disc: this is the thermostat adjustment. There is a long, flat metal shaft (which did not make it into any of these pictures) which connects the temperature lever on the handle down to this black disc. As the disc rotates, the ramp of the disc raises/lowers the white “rider”, adjusting the pressure on the bimetallic thermostat arm. When you’re looking at the actual mechanism and moving the disc, you’ll discover (as i did) that the minimum bending of the thermostat arm happens at the highest temperature setting, and the maximum bending force is applied at the Off setting. For this reason, for maximum accuracy and life of the thermostat, keep the lever all the way at its highest setting (LIN, for Linen, on this iron) when the iron is unplugged and being stored.
Reassembly
I don’t recall much about reassembly that won’t be obvious from considering the information above. There may be a little bit of a challenge getting the thermostat link in position between the disc in the base and the lever in the handle. The real stumper for both disassembly and reassembly was the water fill funnel: it was not obvious that it needed to come out during disassembly, and it was not obvious how to get it to stay in position at the end of reassembly. I strongly recommend leaving it out until you know that the rest of the iron is fully functional to your satisfaction. To fix it back in place, the bottom (inner) end needs to be flared outward (with a screwdriver or other tool). Other than that, and remembering to reconnect the power cord, there should not be any surprises during reassembly… as best i remember.
 World O’ Appliances/Household/Plumbing/Irrigation/HVAC/Hardware