Secure Email Setup for Mail 2 & OS 10.4 Tiger
It All Started with Tiger
The downside to setting up secure email in Tiger versus later versions of OS X is that setup in Tiger is peculiar, quirky, and at some points, illogical. The upside is that, if one is willing to do the crazy dance and once one is all done, secure email works reliably and with minimal fuss in Tiger… something to which later OS X versions often still aspire.
This entire section is based upon, and most of the following steps are taken from, the article Fun with Certificates by James W Walker, without whom we might all still be unable to get secure email in Mail going. Heaps of appreciation to JWW for his pioneering work! My reason for repeating most of his article here is to add points of clarification where i found his original confusing, and to integrate the information into the rest of my site, with coverage of later OS versions.
Creating a Self-Signed S/MIME Certificate-key pair
- Quit Mail, if it is running.
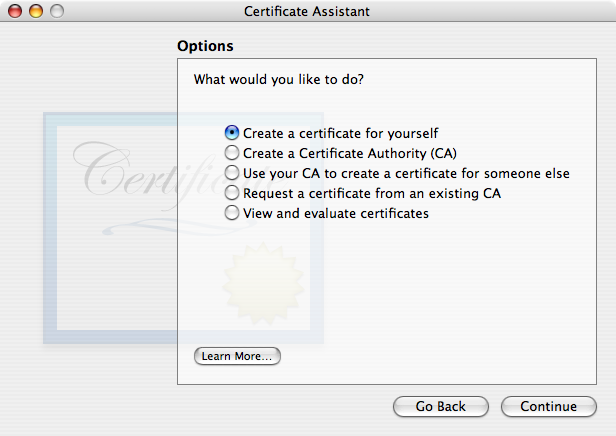
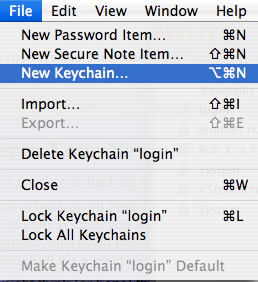
- Open the Keychain Access program in your Utilities folder (version 3.3). Pull down its application menu and choose . Certificate Assistant 1.0 will run. After clicking Continue in the Introduction page, choose the first radio button, “Create a certificate for yourself”, in the Options page:
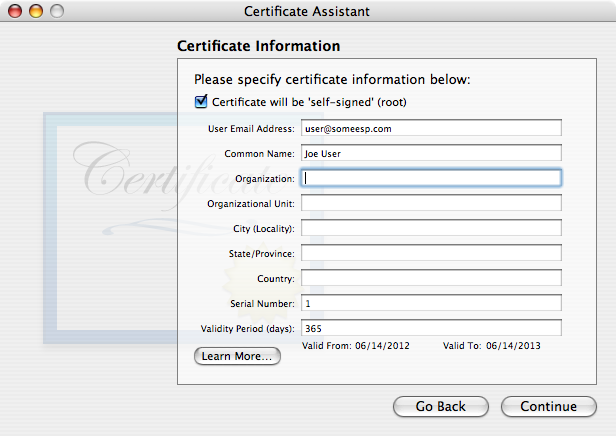
Click Continue. Fill out the page. The Certificate Information page is where the associated e-mail address and the certificate name are specified. If you have multiple e-mail addresses, you may find it useful to indicate the e-mail account in the certificate name. For example, if Bob Smith is creating a certificate to sign or encrypt messages from his account tester@example.com, he might name the certificate Bob Smith (tester). If you routinely use only one email address/account for secure email, this may not be necessary.
It is probably a good idea to increase the validity period to more than one year. One good choice is 10 years: 3652 days, approximately. The tradeoff: longer is less work for you, yet a longer-term risk of someone getting into your Mac(s) and/or your security credential backup(s) and stealing your master credentials. Shorter minimizes the length of time that a stolen certificate may be valid, but is more work for you to remember to renew (make a new one, basically) before it expires and a lot more work for all your correspondents, who need to renew trust in your new certificate(s).
Here’s a screenshot with the absolute minimum number of fields filled out and the default 365 day (one year) validity time span:
- The first time you click Continue in the screenshot above, you’ll get a warning about using a self-signed certificate.
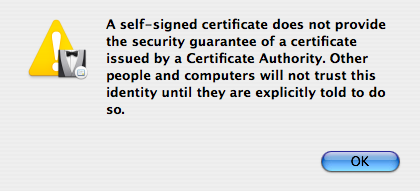
When you OK/dismiss that warning, you’ll be back to this same Certificate Information window (shown above). Just click Continue again to actually continue.
You should accept the default settings in the remaining assistant pages. This is important: just accept what is offered unless you know what you’re doing and know that you need to override the defaults. Don’t go looking for trouble.
- is the next Assistant window you’ll see.
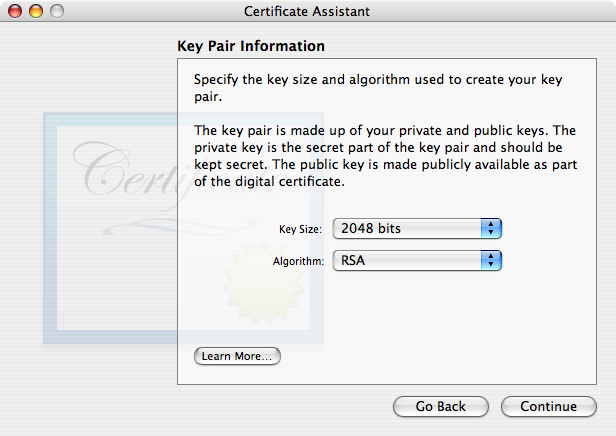
No need to change these unless you know what they mean and have your own reasons for wanting something else. As of this writing, 2048 bit RSA keys are still quite secure. - Next comes the (KUE) window. By default it is unchecked (disabled) and no other options are visible.
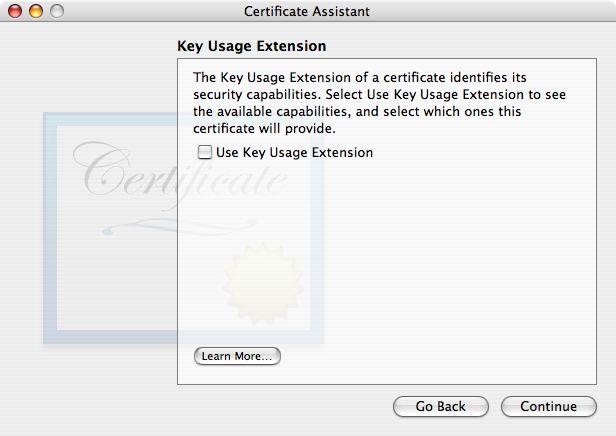
There used to be no reason to engage the Key Usage Extension, and i used to recommend leaving it disabled (unchecked). However due to changes made by Apple as of 10.12 Sierra, the Key Usage Extension MUST be included for a certificate to be valid. If you wish for your certificate to work on Sierra or newer as well as all OS X/Mail versions back to 10.4 Tiger/Mail 2, you must enable the Key Usage Extension (and fill it out correctly). If you do, you’ll see this:
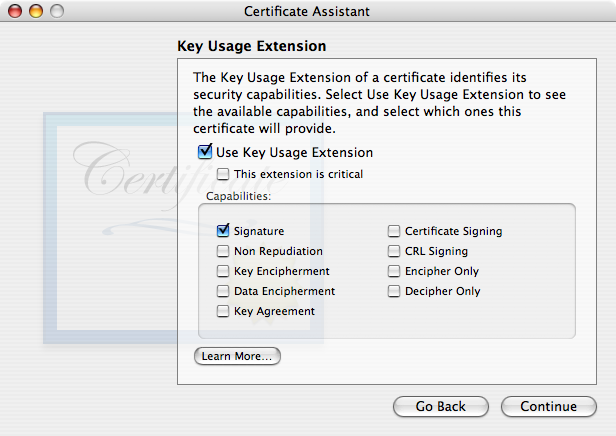
Be sure to check Key Encipherment or else your certificate with KUE won’t work for email encryption! It is wholly unclear to me why Apple chose not to have Key Encipherment selected by default, but there ya go. Note that later versions of OS X have “This extension is critical” set by default. If you’re going to use the KUE, which is now required by macOS 10.12 (and likely newer), might as well follow their (future, relative to Tiger) lead. - Tiger Certificate Assistant displays the Basic Constraints extension and the Subject Alternate Name Extension (SANE) together in the window.
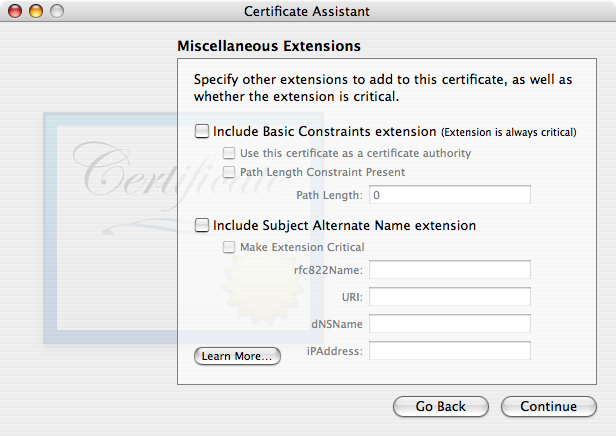
I recommend leaving Miscellaneous Extensions as you see it above. If you find you need to engage Basic Constraints (perhaps because a non-Apple system isn’t accepting your certificate), be sure to check “Use this certificate as a certificate authority”, for a self-signed certificate.If you use the Subject Alternate Name extension, you must fill in the same exact, correct email address you entered earlier in the Certificate Information window. On later OS versions, Apple includes this extension by default, and it is Not marked Critical. I suggest following Apple’s lead and leaving the “Make Extension Critical” box unchecked (unless you know beyond any doubt that it is needed for interoperation with a non-Apple system). Again, i find it easier to simply omit this extension, as seen above (Tiger default).
- The next window, not pictured here, asks you to Specify a Location For The Certificate. Be sure the selection is Keychain: login.
- At the end, the assistant will create a key pair and a certificate and put them in your user login keychain. You’ll then see a confirmation of success:
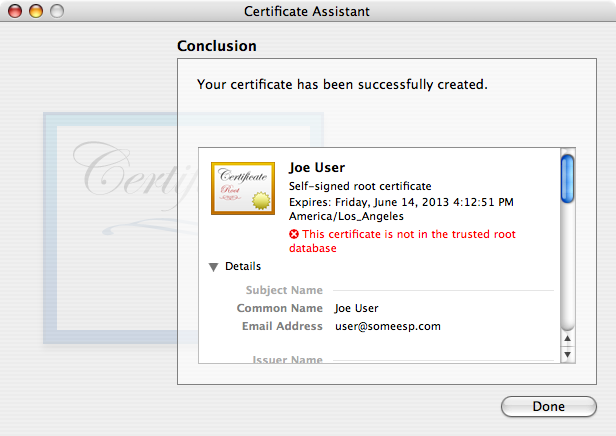
Note the warning in red type that says “This certificate is not in the trusted root database”. The next step is telling the computer to trust the certificate.
Trusting a Certificate
Your public and private keys need no further attention—they’re ready to run. All they need to do is sit there on your system and work.
Here’s a view of the new certificate, public key, and private key which were created by Certificate Assistant in the last step: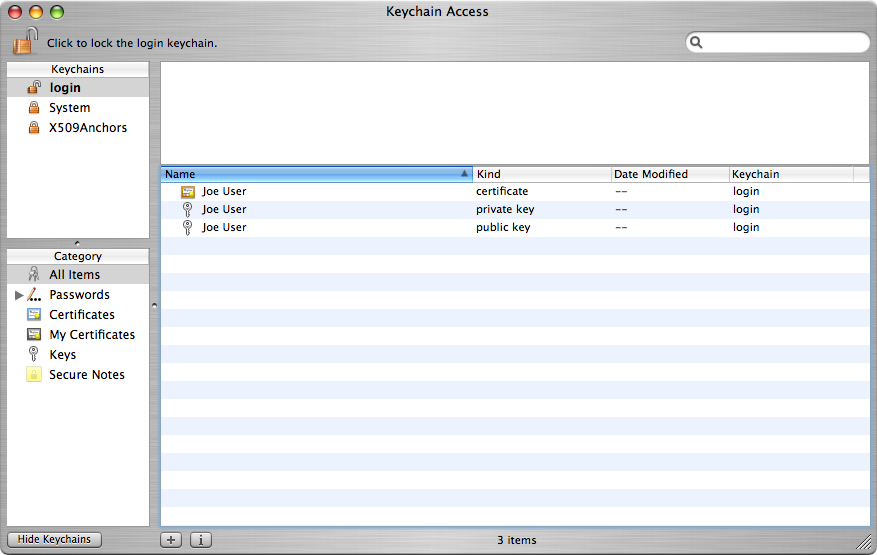
- Find the new certificate in the list of certificates and select it. Pull down the menu and choose .
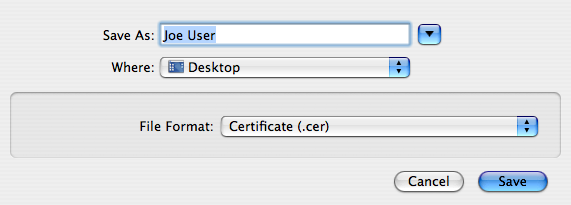
- Export the certificate in the .cer format, to your desktop or other convenient location.

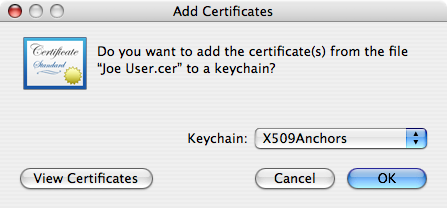
- Double-click the .cer file. An Add Certificates window will appear within Keychain Access. Set the Keychain pop-up menu to and click OK. You will need to enter an administrator password to complete the operation.
- At the moment, Keychain Access still says that the certificate is not in the trusted root database. But if you quit Keychain Access and reopen it, it will say “This certificate is valid” when you select the new certificate, no matter whether it is selected from the login keychain or the X509Anchors keychain. The next time you launch Mail, you will be able to sign e-mail from the address associated with the certificate.
By the way, since you created the certificate, you might suppose that you could find it more easily in the category rather than the category. If you do that, you’ll find that you are unable to export the certificate in the right format.
Options which appear easier are Broken in Tiger
Note that it appears that it ought to be possible to change the Trust settings of the certificate as it sits in the login keychain, from (or ) to . This is basically how it works in later versions of OS X—but not in Tiger. The implementation appears to be broken… so don’t bother trying.
Also, Mail itself will sometimes offer to trust an unknown certificate… that’s broken too. It works until you quit Mail, but no longer works once Mail is restarted.
For these reasons, even though it appears that other ways of trusting certificates ought to work, in reality they don’t. Don’t bother wasting your time (i already did it for you)… just do this happy dance as described above, and all should work fine.
Preserve Your New Security Credentials: Back Up!
Now is the time to back up your new certificate, public key, and private key, archive them, or both!
Be sure to back up all three of these new items, ideally together. The private key in particular needs to be preserved—without it, if something goes wrong with the original on your system, you won’t be able to read encrypted email messages sent to you—ever again! If someone else gets ahold of your private key, they’ll be able to read private, encrypted messages sent to you—probably not what you want. If someone else gets ahold of your certificate (or public key, for other systems), it’s no big deal. Still it’s a good idea to have a backup in case you need to put your credentials on multiple machines, or you move to a new Mac.
One might think (or hope) that selecting the three items and dragging and dropping from inside Keychain Access to somewhere out in Finder would work… nope. Works for the certificate only, but not the keys. Even selecting all three items in Keychain Access then choosing fails, in a similar way: a promising-named item is created, but again it is only the certificate.
Credentials in a New Keychain (Best Option)
The best option to preserve these three credential items and keep them together is to create a new keychain and drag copies of them into this new keychain:
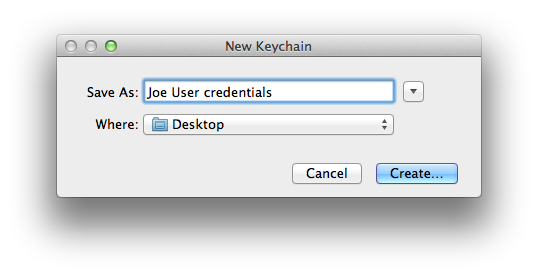
- Select from Keychain Access’s menu.
- Name the new keychain and be sure to save it some place where you can easily find it. I prefer the desktop.
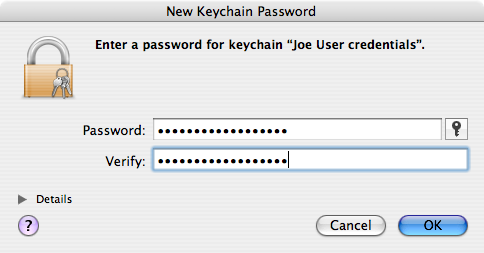
- Enter a strong password or passphrase for your new credentials keychain. Note: your private key is only as secure as this password/passphrase and where you eventually store this keychain! Be certain that you will not lose nor forget this password/passphrase! Not having the password/passphrase is effectively the same as no longer having any of these credentials, especially the private key, at all.
- Select the three items (certificate, public key, private key) in your login keychain. Hold down the Option key and drag these items as a group into your new keychain. You should see the usual green + sign with the items as you drag.
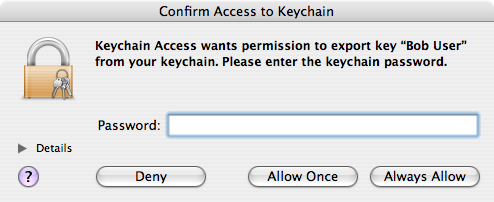
- Keychain Access will ask permission to copy your private key (as part of the group of 3 items you’re copying). Enter the password for your login keychain (not the one you just made) and, for security, click (but not )[1].
- Double-check that the three items still remain in your login keychain. If they moved rather than copied, go to your new keychain and carefully repeat the step above. In the end there should be one set of the three credentials in the login keychain and another in the new keychain you just created.

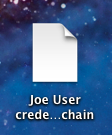
- Save one or more copies of your new keychain in one or more secure locations. Here’s what the keychain file looks like, out on the desktop:
Individually Saved Credentials (troublesome, buggy)
Another alternative which i used to use but found out doesn’t work as well is to save each item as a separate entity. If you use this approach, each item needs to be individually selected in Keychain Access, and exported using . For reasons not wholly clear to me, Keychain Access does not allow bundling all three items into one container, and it seems to be strict regarding what options may actually be used. I’ve only had success saving each item individually and in the following formats:
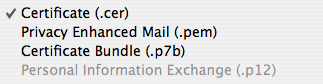
- Certificate (.cer) for the certificate:
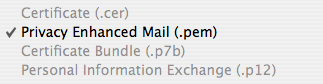
- Privacy Enhanced Mail (.pem) for the public key:
- Personal Information Exchange (.p12) with a password for the private key:
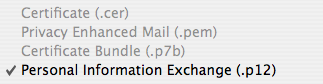
For this last format only, you will be asked for a password, without which you will not be able to open the .p12 file and retrieve your private key. Be sure to choose a suitably strong password to protect your private key, and be certain that you will not lose nor forget this password! Not having the password is effectively the same as no longer having the private key at all.
Other Machines?
As discussed in the Sharing One Set of Credentials with Other Machines part of the Points common to all OS versions section of the main article page, one set of email security credentials should be used on all devices you own.
The easiest and possibly best way to do this is to place a copy of the keychain you made with your 3 security credentials on each device and import the items from there. Here’s how it works moving these credentials to a different Mac:
- Place a copy of your secure email credentials keychain on the Mac. I tend to put it on the desktop.
- Double-click the credentials keychain file. Keychain Access should open, and the keychain should be visible in the list, shown locked.

- Select the credentials keychain. Select all 3 items (certificate, public key, private key) within the keychain and drag them to the login keychain.
- Keychain Access will now ask for the password/passphrase for the credentials keychain[1a]. Enter it.
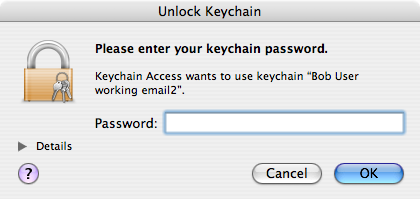
- Keychain Access will now ask for permission to export the private key. Enter the password for the credential keychain in this different authentication window and click .
- Delete the credentials keychain (now empty) from within Keychain Access via the option in the menu.
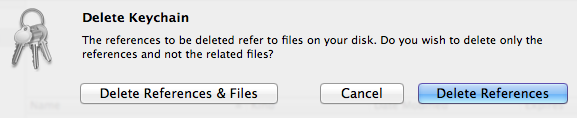
Select to get rid of both the references inside the Keychain Access application itself and the actual credentials file, now empty (you did use a copy of this file in the first step of this sequence, didn’t you?). The deleted keychain might vanish immediately or remain in the list of keychains until Keychain Access is quit and reopened (no need to do that now), depending on things like permissions. - Quit Keychain Access. Done!
If instead of saving the 3 credential items in a separate keychain you exported each item individually, you will need to use in Keychain Access on each of your backed up/archived .cer, .pem, and .p12 files for the certificate, public key, and private key, respectively.
Due to bugs in Keychain Assistant (and/or the security infrastructure) for OS X all the way from Tiger through Lion, during my testing the certificate went in to the new system just fine, but there was an error message for both the public and private keys:
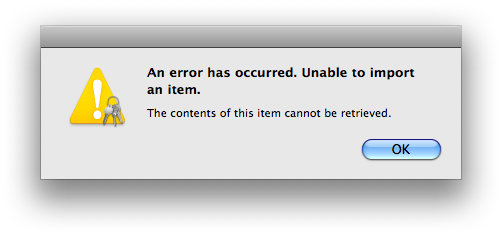
The private key went in despite this error message; the public key did not. This problem occurs whether i double-click the file in Finder or use within Keychain Access. Guess we’d better hope that the public key truly is redundant when importing to Tiger systems!
Verification of Success
Open Mail and select New Message. You should see a new pair of icons in the lower right part of the header area, just above the white message body area:

Don’t be concerned right now whether they’re grayed out or black, or whether they’re selected or not (this is all explained in How Secure Email in Mail Works (once everything is set up)). As long as they appear, the setup at your end is complete—Congratulations! You are now ready to exchange certificates with your correspondents.